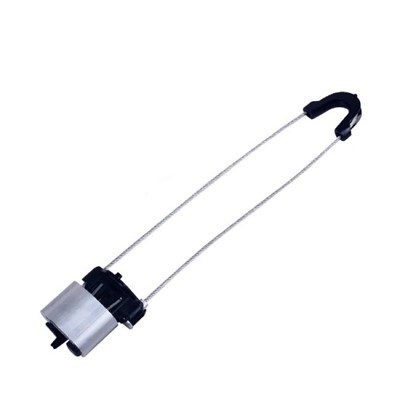

As a supplier of Cable Piercing Connectors, I often encounter customers who face issues with damaged connectors. In this blog post, I'll share a comprehensive guide on how to repair a damaged Cable Piercing Connector.
Understanding Cable Piercing Connectors
Before we dive into the repair process, it's essential to understand what Cable Piercing Connectors are. These connectors are designed to tap into an existing electrical cable without the need to strip the insulation. They work by piercing through the insulation and making contact with the conductor inside. There are different types of these connectors, such as Insulation Piercing Tap Connectors, Electrical Piercing Connector, and Piercing Wire Connector. Each type has its own specific application and design, but the basic principle remains the same.
Common Causes of Damage
- Mechanical Stress: This can occur during installation if the connector is not properly aligned or tightened. Over time, vibrations or physical impacts can also cause the connector to loosen or break.
- Environmental Factors: Exposure to moisture, extreme temperatures, or corrosive substances can damage the connector's insulation or the piercing elements.
- Electrical Overload: If the connector is subjected to a current higher than its rated capacity, it can overheat and cause damage to the internal components.
Tools and Materials Needed
- Screwdriver Set: Different types of screwdrivers may be required depending on the connector's design.
- Wire Cutters and Strippers: For cutting and stripping wires if necessary.
- Insulation Tape: To provide additional insulation after the repair.
- Contact Cleaner: To remove any dirt or corrosion from the connector's contacts.
- Replacement Parts: If any components are severely damaged, you may need to replace them. This could include piercing blades, insulation caps, or screws.
Step-by-Step Repair Process
- Safety First: Before starting any repair work, make sure to turn off the power supply to the circuit. This will prevent any electrical shocks or short circuits. Use a voltage tester to confirm that the power is off.
- Inspect the Connector: Carefully examine the connector to identify the source of the damage. Look for any visible signs of breakage, corrosion, or loose connections. Check the piercing blades to see if they are still sharp and in good condition.
- Clean the Connector: Use a contact cleaner to remove any dirt, dust, or corrosion from the connector's contacts. This will improve the electrical conductivity and prevent further damage. Make sure to follow the cleaner's instructions and allow it to dry completely before proceeding.
- Tighten Loose Connections: If the connector has any loose screws or bolts, use the appropriate screwdriver to tighten them. Be careful not to over - tighten, as this could damage the connector.
- Replace Damaged Parts: If any components are severely damaged, such as a broken piercing blade or a cracked insulation cap, remove them and replace them with new ones. Make sure to use parts that are compatible with your connector.
- Reassemble the Connector: Once all the damaged parts have been replaced and the connector is clean, carefully reassemble it. Follow the manufacturer's instructions for proper assembly. Make sure that all the components are properly aligned and tightened.
- Test the Connector: After reassembling the connector, turn on the power supply and use a multimeter to test the electrical connection. Check for proper voltage and current flow. If there are any issues, double - check your repair work and make any necessary adjustments.
- Insulate the Connector: Once the connector is working properly, use insulation tape to provide additional insulation. Wrap the tape around the connector to protect it from moisture and further damage.
Tips for Preventing Future Damage
- Proper Installation: Follow the manufacturer's installation instructions carefully. Make sure the connector is properly aligned and tightened during installation.
- Regular Inspections: Periodically inspect the connectors for any signs of damage or wear. This will allow you to catch any issues early and prevent them from becoming more serious.
- Use Quality Connectors: Invest in high - quality Cable Piercing Connectors from a reputable supplier. Quality connectors are more likely to withstand mechanical stress, environmental factors, and electrical overloads.
- Protect from the Environment: If the connector is installed in an area where it is exposed to moisture, extreme temperatures, or corrosive substances, consider using protective enclosures or coatings.
Conclusion
Repairing a damaged Cable Piercing Connector is a relatively straightforward process if you follow the right steps and take the necessary precautions. By understanding the common causes of damage, having the right tools and materials, and following a systematic repair process, you can extend the lifespan of your connectors and ensure a reliable electrical connection.
If you are in need of Cable Piercing Connectors or have any questions about their repair or installation, feel free to reach out to us. We are here to provide you with high - quality products and expert advice.


References
- Electrical Installation Handbook, Schneider Electric
- National Electrical Code (NEC)